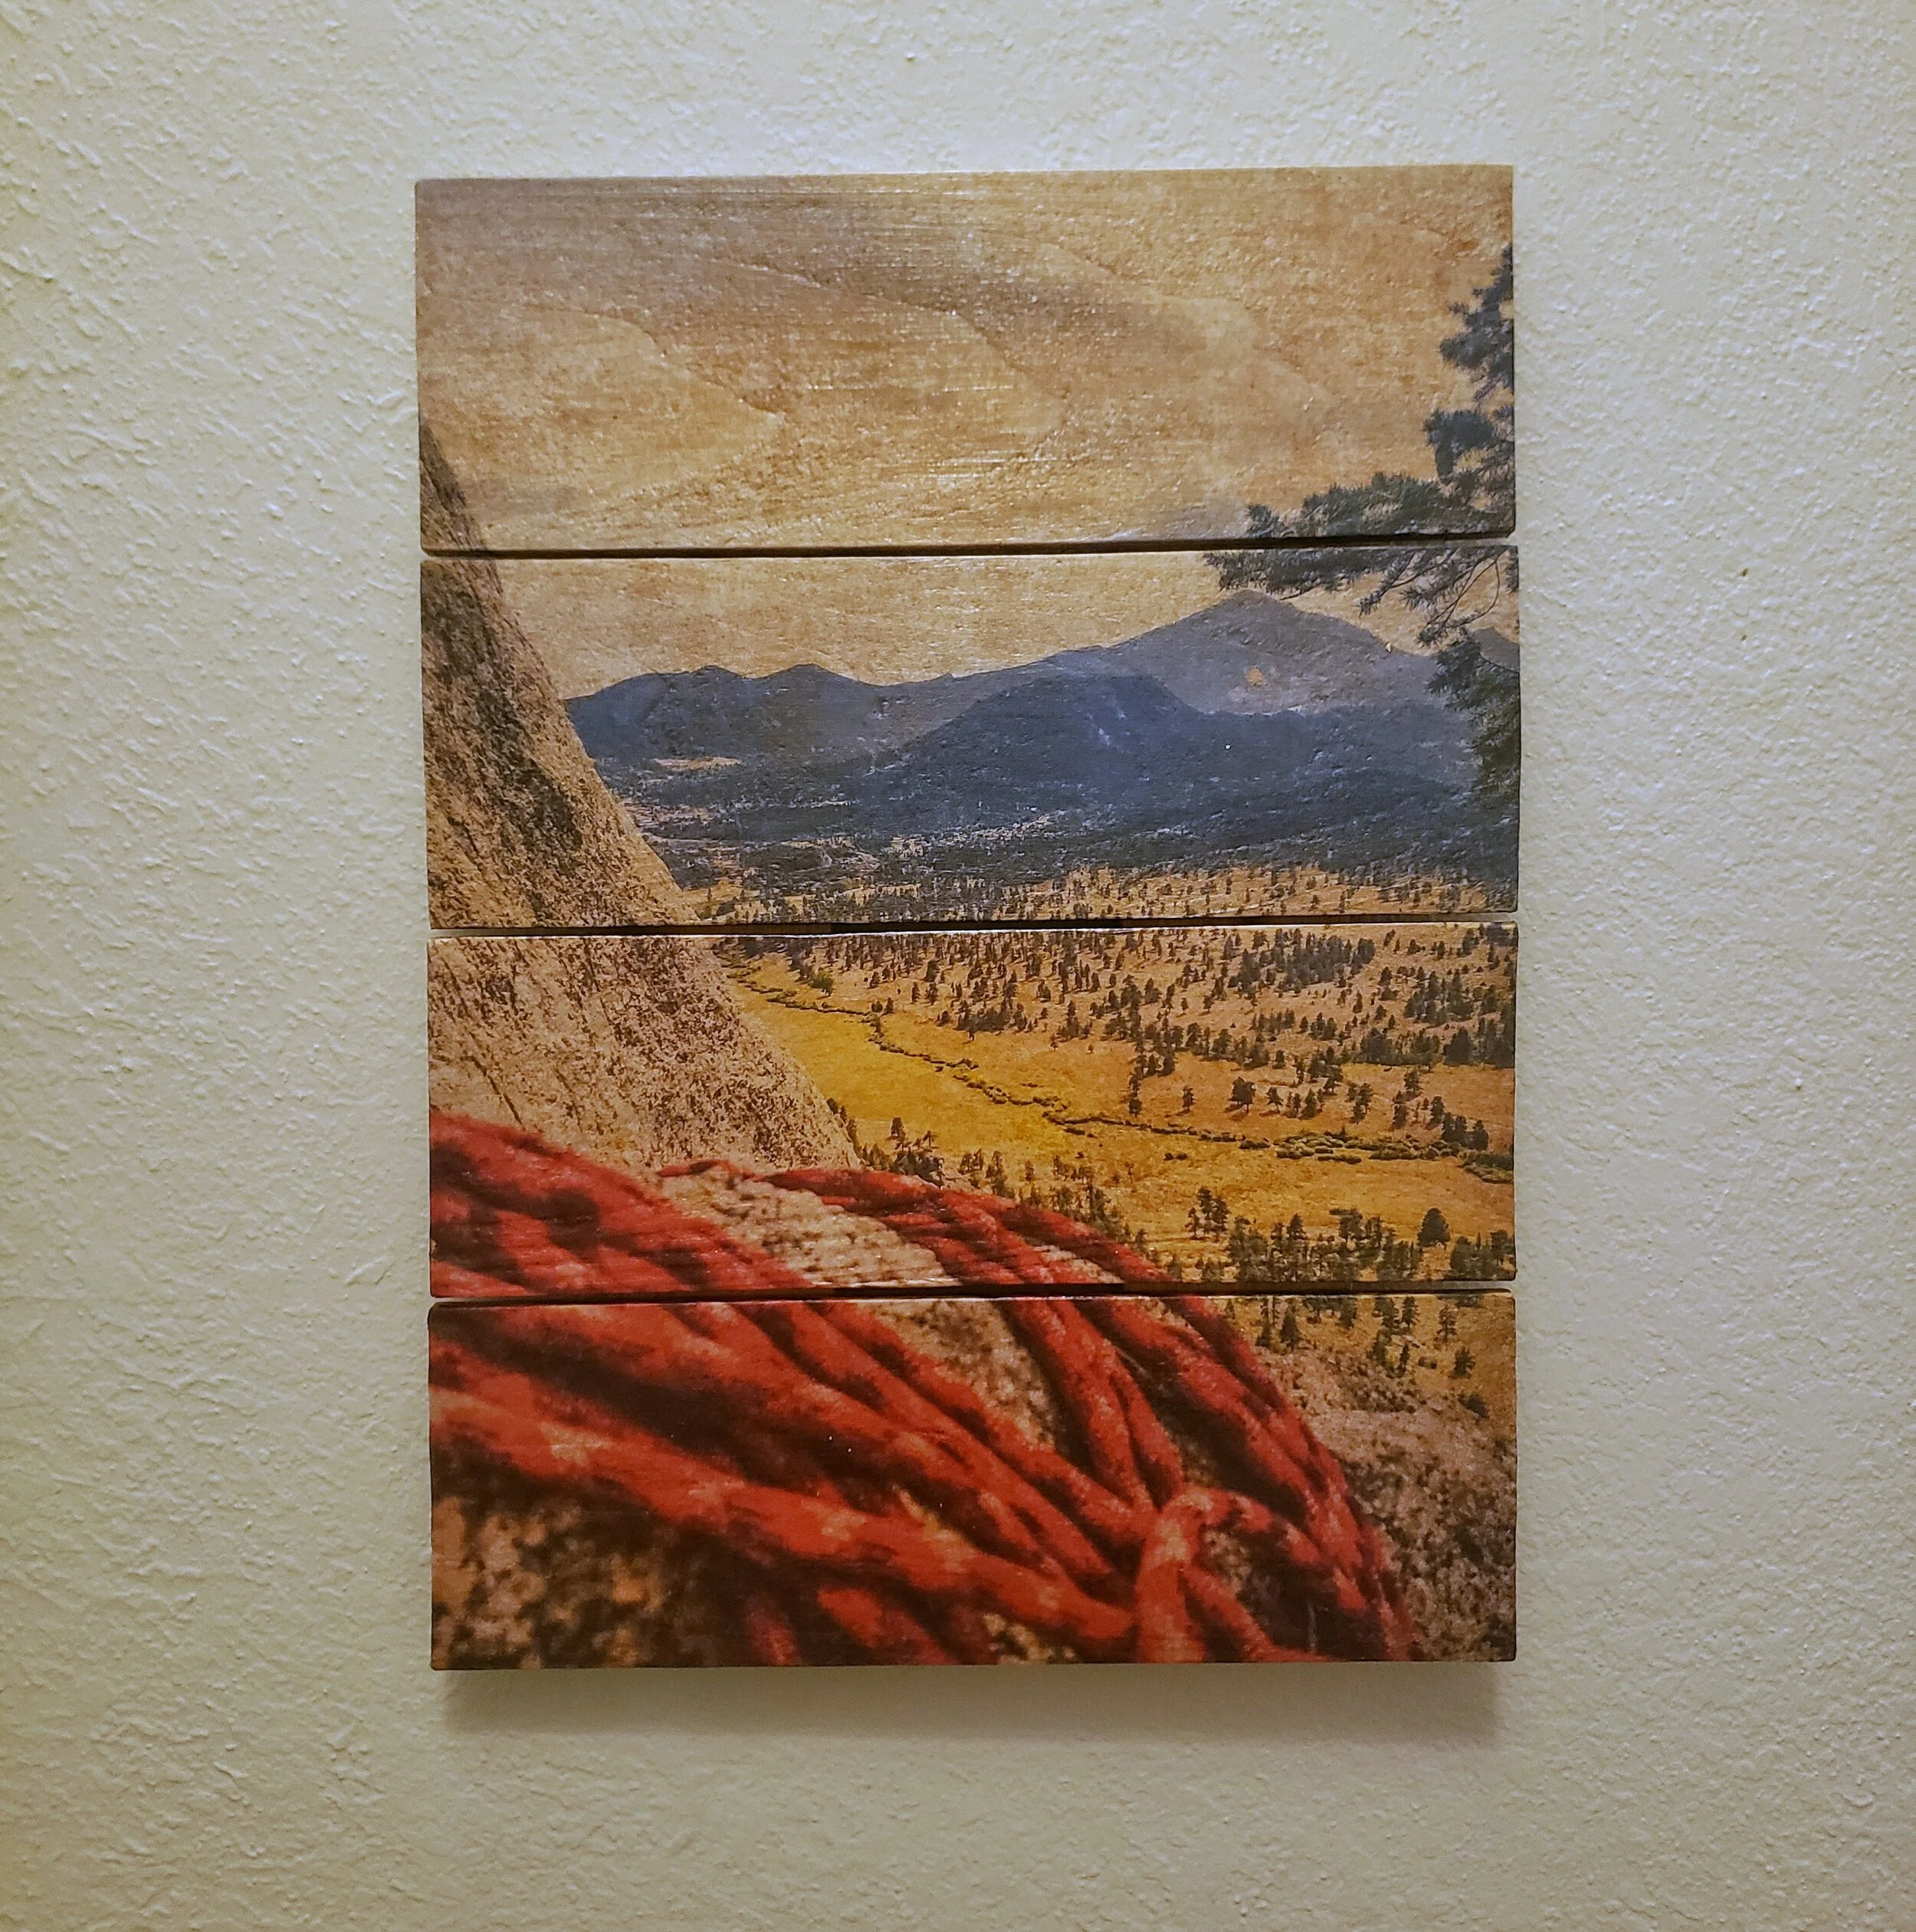
It’s rare for me to sit still, but sometimes I do for long enough transfer some of my favorite memories to print. All of the work is hand done my me. Here is a look into my process.
Step 1
(Step 0 - Go do a cool thing worth putting on your wall). Do a lot of surprisingly complicated math in to get your crop lines right in Photoshop. Also make some small test prints to make sure your colors are right (they look obnoxiously bright in on the computer, but good when printed).
Step 2
Print out the image in strips on tissue paper. Hope you got the strip dimensions right. I use a very old Epson C88+ because it uses dye instead of water based ink which is very important.
Step 2b.
(Do this before printing). Mount strips of tissue paper to regular paper so the printer doesn’t eat it. A gluestick around the edges works well.
Step 3
Peel or cut the strips off the regular paper.
Step 4
Cut wood to size. I use cheap fence posts from the Home Depot. I like pieces with texture so the wood look comes through.
Step 5
Sand the wood to make it nice.
Step 5
Trim each strip. Get the modge podge out because that’s what will be used to mount the photo to the wood.
Step 6
Mounting. Make sure to get each strip perfectly centered…
Step 7
Apply a top coat.
Step 8
Looking good! Wait for pieces to dry.
Step 9
Mount it all together. I think I use 1” wood screws.
Step 10
Ta-da! 10 or so hours later you are all done. Have a beer and admire the hard work.


